Document capture and OCR preprocessing guide for better recognition
Recognition cannot restore character strokes that the source never captured. This collection starts at the camera or scanner, isolates one defect at a time, and uses the OCR result to decide whether a change helped.
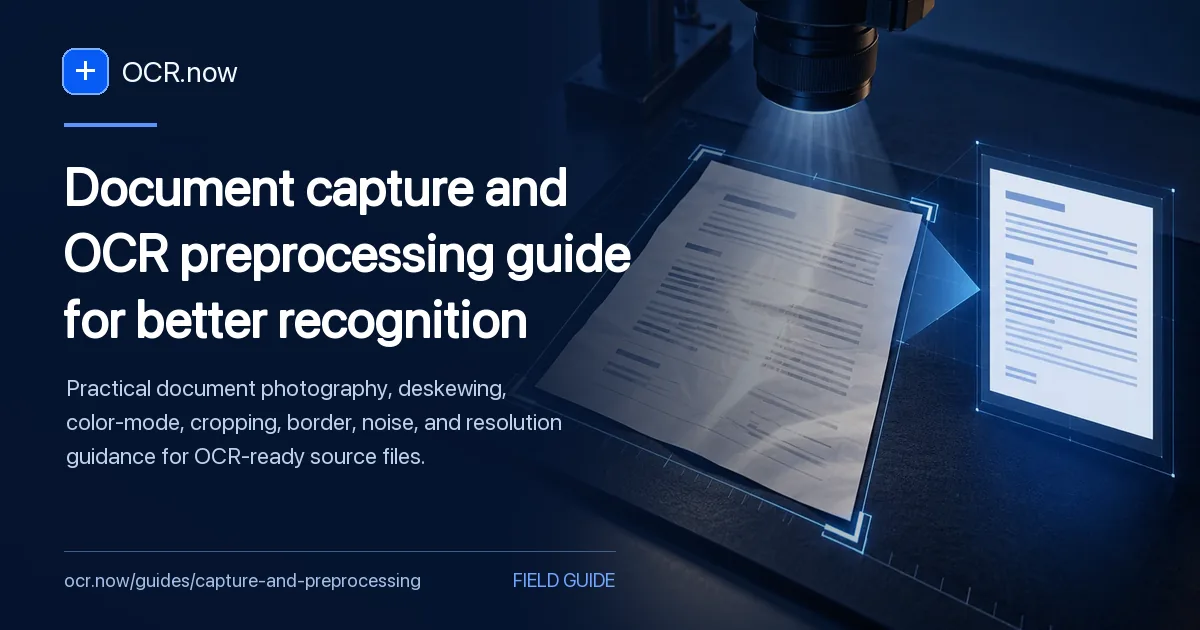
Protect character evidence before recognition
Use these capture methods when
Use this collection when the source itself limits recognition. Camera angle, focus, glare, page curvature, borders, background texture, resolution, and scan mode can remove or distort evidence before the OCR engine sees a character. Each guide isolates one capture decision.
A tested source derivative
You should finish with an untouched original, one documented working derivative, and a comparison on the same difficult passage. Retake the source when detail is missing; use preprocessing only where the original pixels still contain recoverable information.
Test this cluster with JPG to Text, then begin the detailed review with How to Photograph a Document for Accurate OCR.
After changing the source image, use the controlled OCR accuracy checks to confirm whether the change reduced real errors.
Choose the correction from the defect you can see
Preprocessing is useful when it reveals information already present in the pixels. It becomes harmful when it clips punctuation, merges strokes, erases faint writing, or makes a visually clean page that contains less evidence.
| Document signal | What it means | Useful next action |
|---|
| Soft text in every region | Focus or motion affected the capture. | Retake the page with support, better focus, and sufficient light. |
|---|
| One side is smaller | The sensor was not parallel to the page. | Recapture square to the page or correct perspective on a derivative. |
|---|
| Faint ink on uneven paper | A single threshold may erase weak strokes. | Preserve color or grayscale and test local tonal cleanup. |
|---|
| False marks at the edge | Borders, holes, fingers, or neighboring pages confuse segmentation. | Crop the working copy while retaining a clean margin and page identity. |
|---|
Keep the untouched original beside every derivative. Compare a fixed passage containing small type, punctuation, and at least one consequential field before applying the correction to a complete batch.
Start with the visible capture defect
Preserve the original, make one derivative, change one variable, and compare the same difficult passage before processing the full set.
Using a phone?
Start with camera angle, focus, lighting, and a full-page capture.
Page looks tilted or curved?
Correct rotation, perspective, or page curvature before changing contrast.
Choosing scan settings?
Base resolution and color mode on the smallest meaningful marks in the source.
OCR sees marks near the edge?
Inspect borders, punch holes, shadows, and neighboring pages before cropping tighter.
Guides for stronger source pixels
Work through focus, perspective, borders, scan resolution, and image mode without applying every filter at once.
A useful document photo is square to the page, sharp at the smallest important characters, evenly lit, and complete enough to preserve page context.
Rotation, perspective, and curvature are different defects. Use the least invasive correction that makes baselines and character scale consistent.
Use color when color carries meaning, grayscale for faded or uneven pages, and bitonal only when the page is clean enough that thresholding will not erase meaningful marks.
Remove unrelated background and scanning artifacts, but leave a small clean margin around the actual text region.
A DPI setting is useful only in relation to the physical size of the original type and the scanner's real optical detail.
Test the original camera or scan file
Use the JPG route to compare the smallest important characters before and after one deliberate capture improvement.
Open JPG to Text
